
Every big creative adventure starts with a tiny spark. Mine started with a simple thought:
“I love model building… but I don’t want to build and store them.”
So instead of filling shelves, I decided to build a character — and photograph him into existence.
That’s how this whole project began: one mech, one idea, and one slightly chaotic creative brain determined to make something cool without spending a fortune.
⭐ The Yin/Yang Idea That Started It All
Somewhere early on, I had a thought that felt too fun to ignore:
What if the mech had two sides?
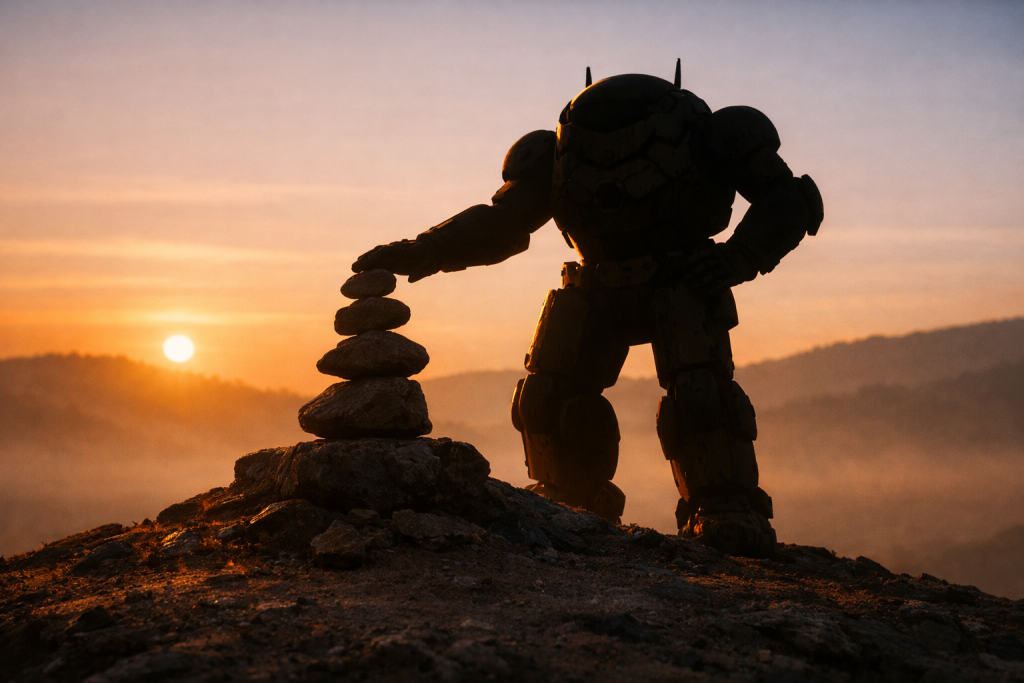
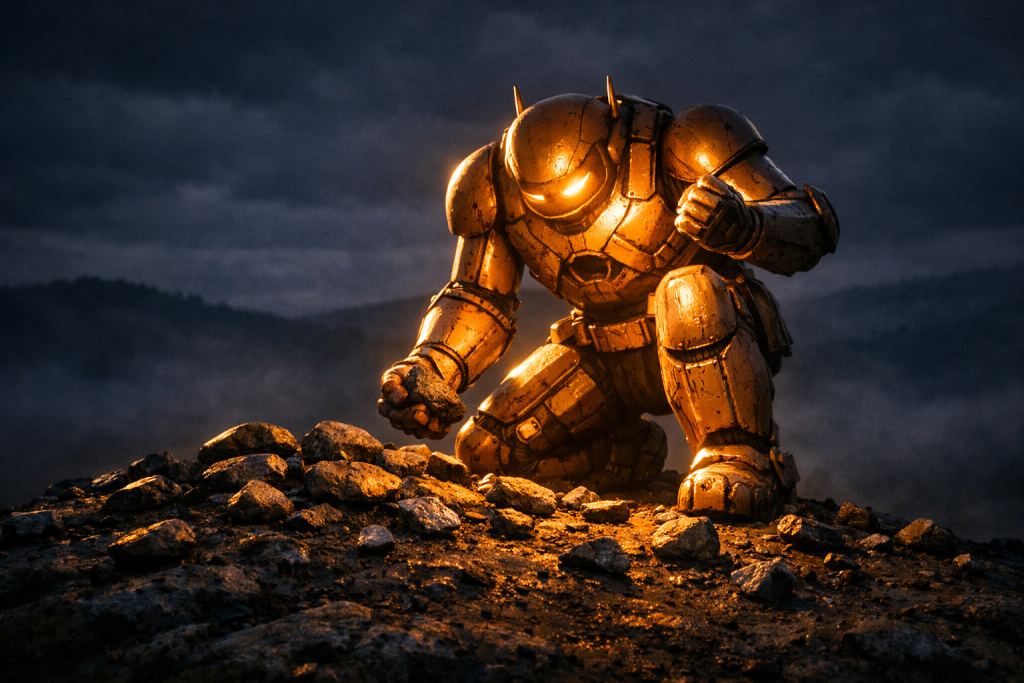
A good version and a bad version — same scene, slightly different pose, same world… but completely different lighting to create a completely different feeling.
In my notes, I wrote:
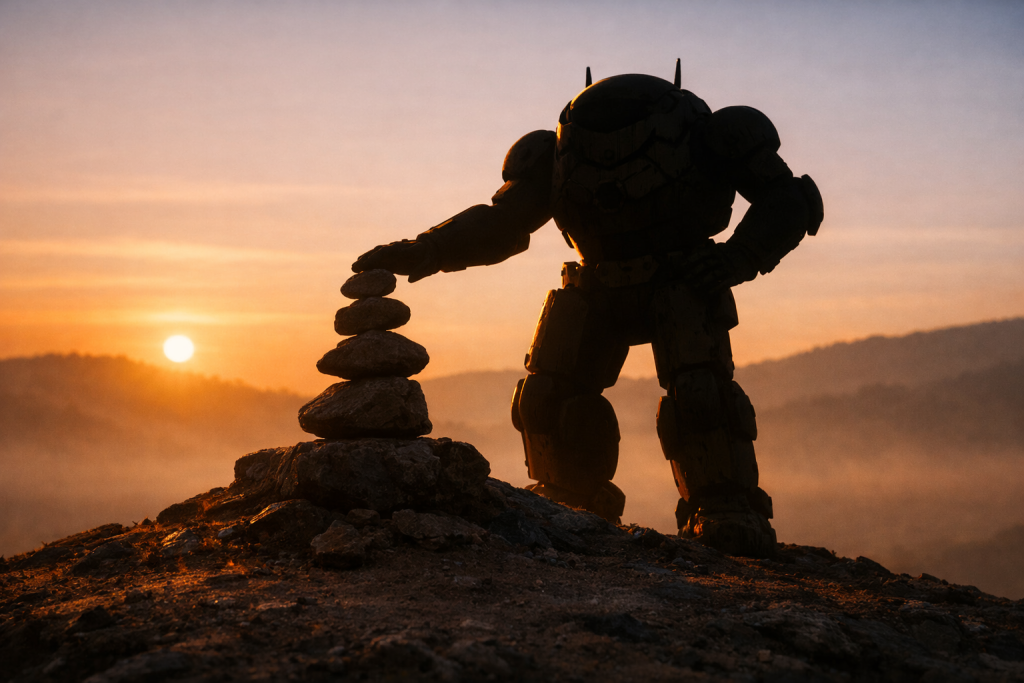
“Good = Scene lit, mech silhouette. Bad = Mech lit, scene dim and dark But both scenes are the same.”
That became the core of the project. A light/dark duality. A tiny robot with a big identity crisis.
Meet the Mech (Name Pending — help me out!)
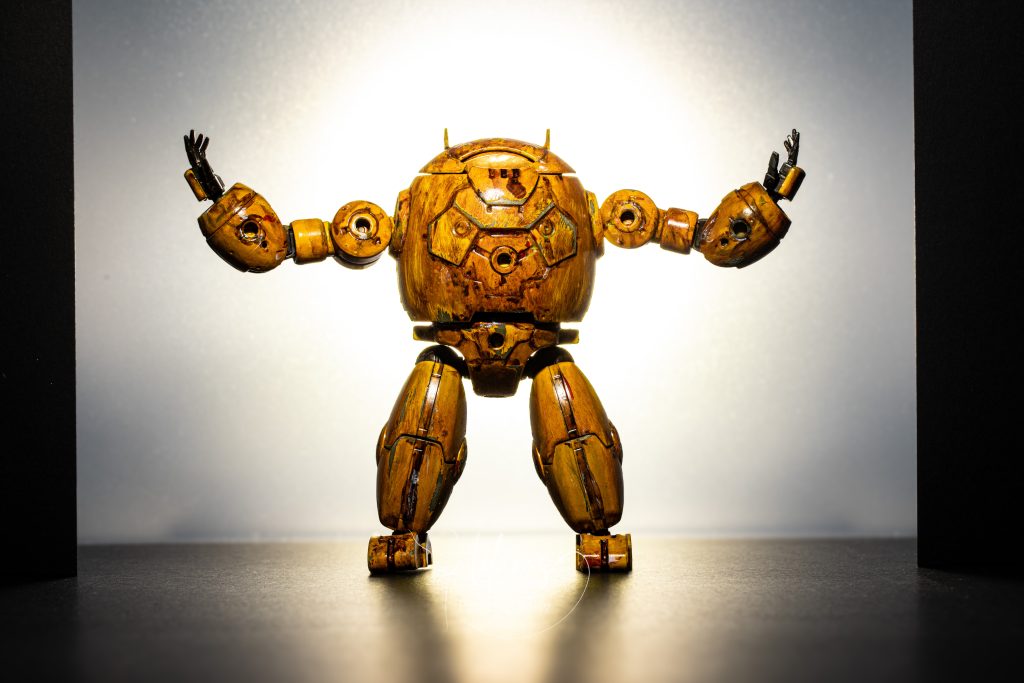
I wanted a character who wasn’t expressive in the usual way. No face. No eyebrows. No Pixar‑style smile.
Just a little mech whose entire personality would come from:
- tiny movements
- the world around him
- and the way I light him
As I wrote in my notes:
“I would need to use his minimal movements, scenery and lighting to create expression… Challenge.”
Challenge accepted.
Keeping It Real (and inexpensive)
Another rule I set for myself:
“I want it to look realistic enough… and keep cost down to minimal to none.”
So this whole project is built on:
- handmade terrain
- DIY lighting tricks
- a single mech
- and a lot of imagination
No fancy studio. No expensive props. Just creativity, cardboard, and stubbornness.
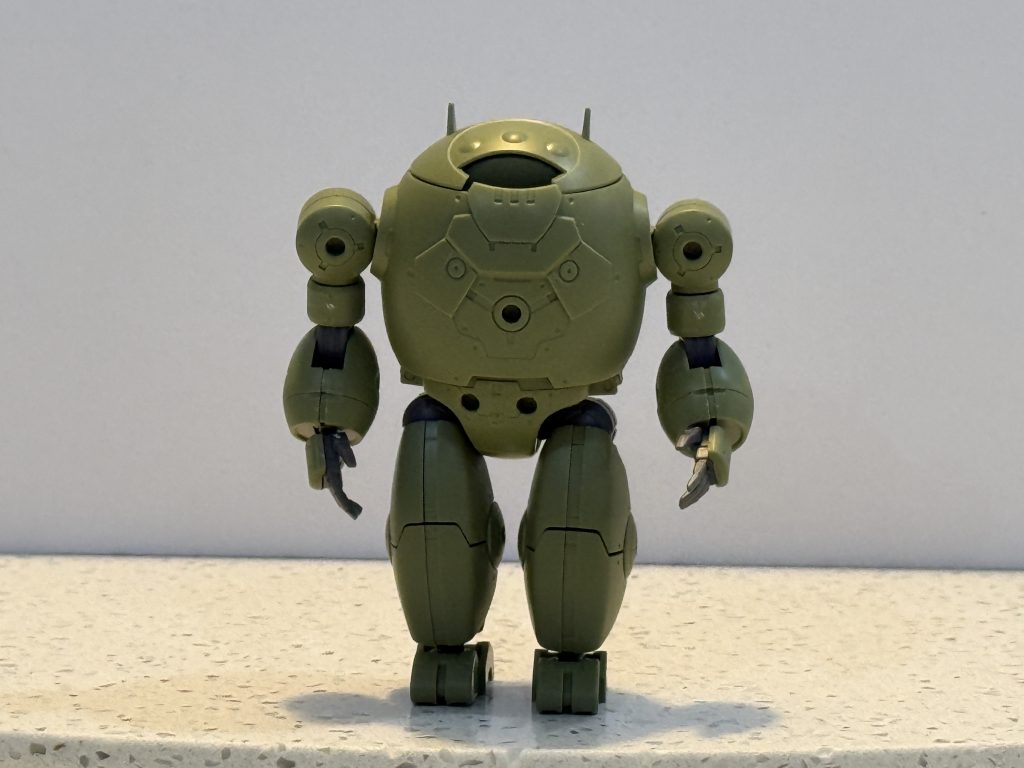
Stage One: Find and Build the Mech
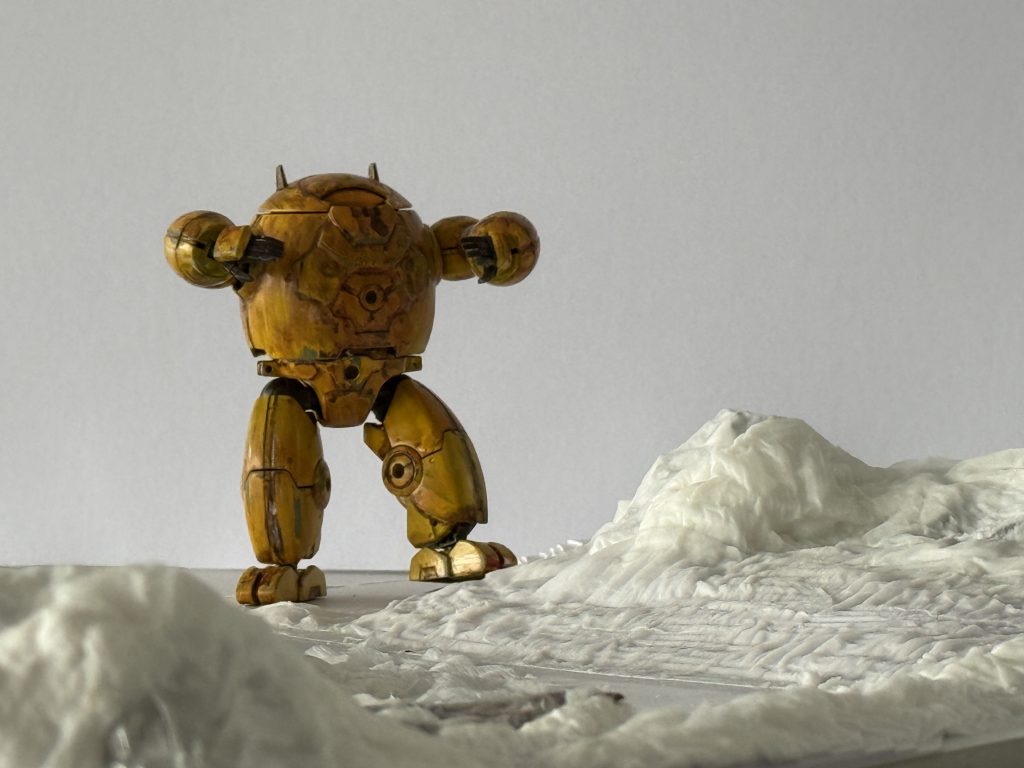
This part was pure joy. Research into looks and costs, then bringing the little guy to life piece by piece.
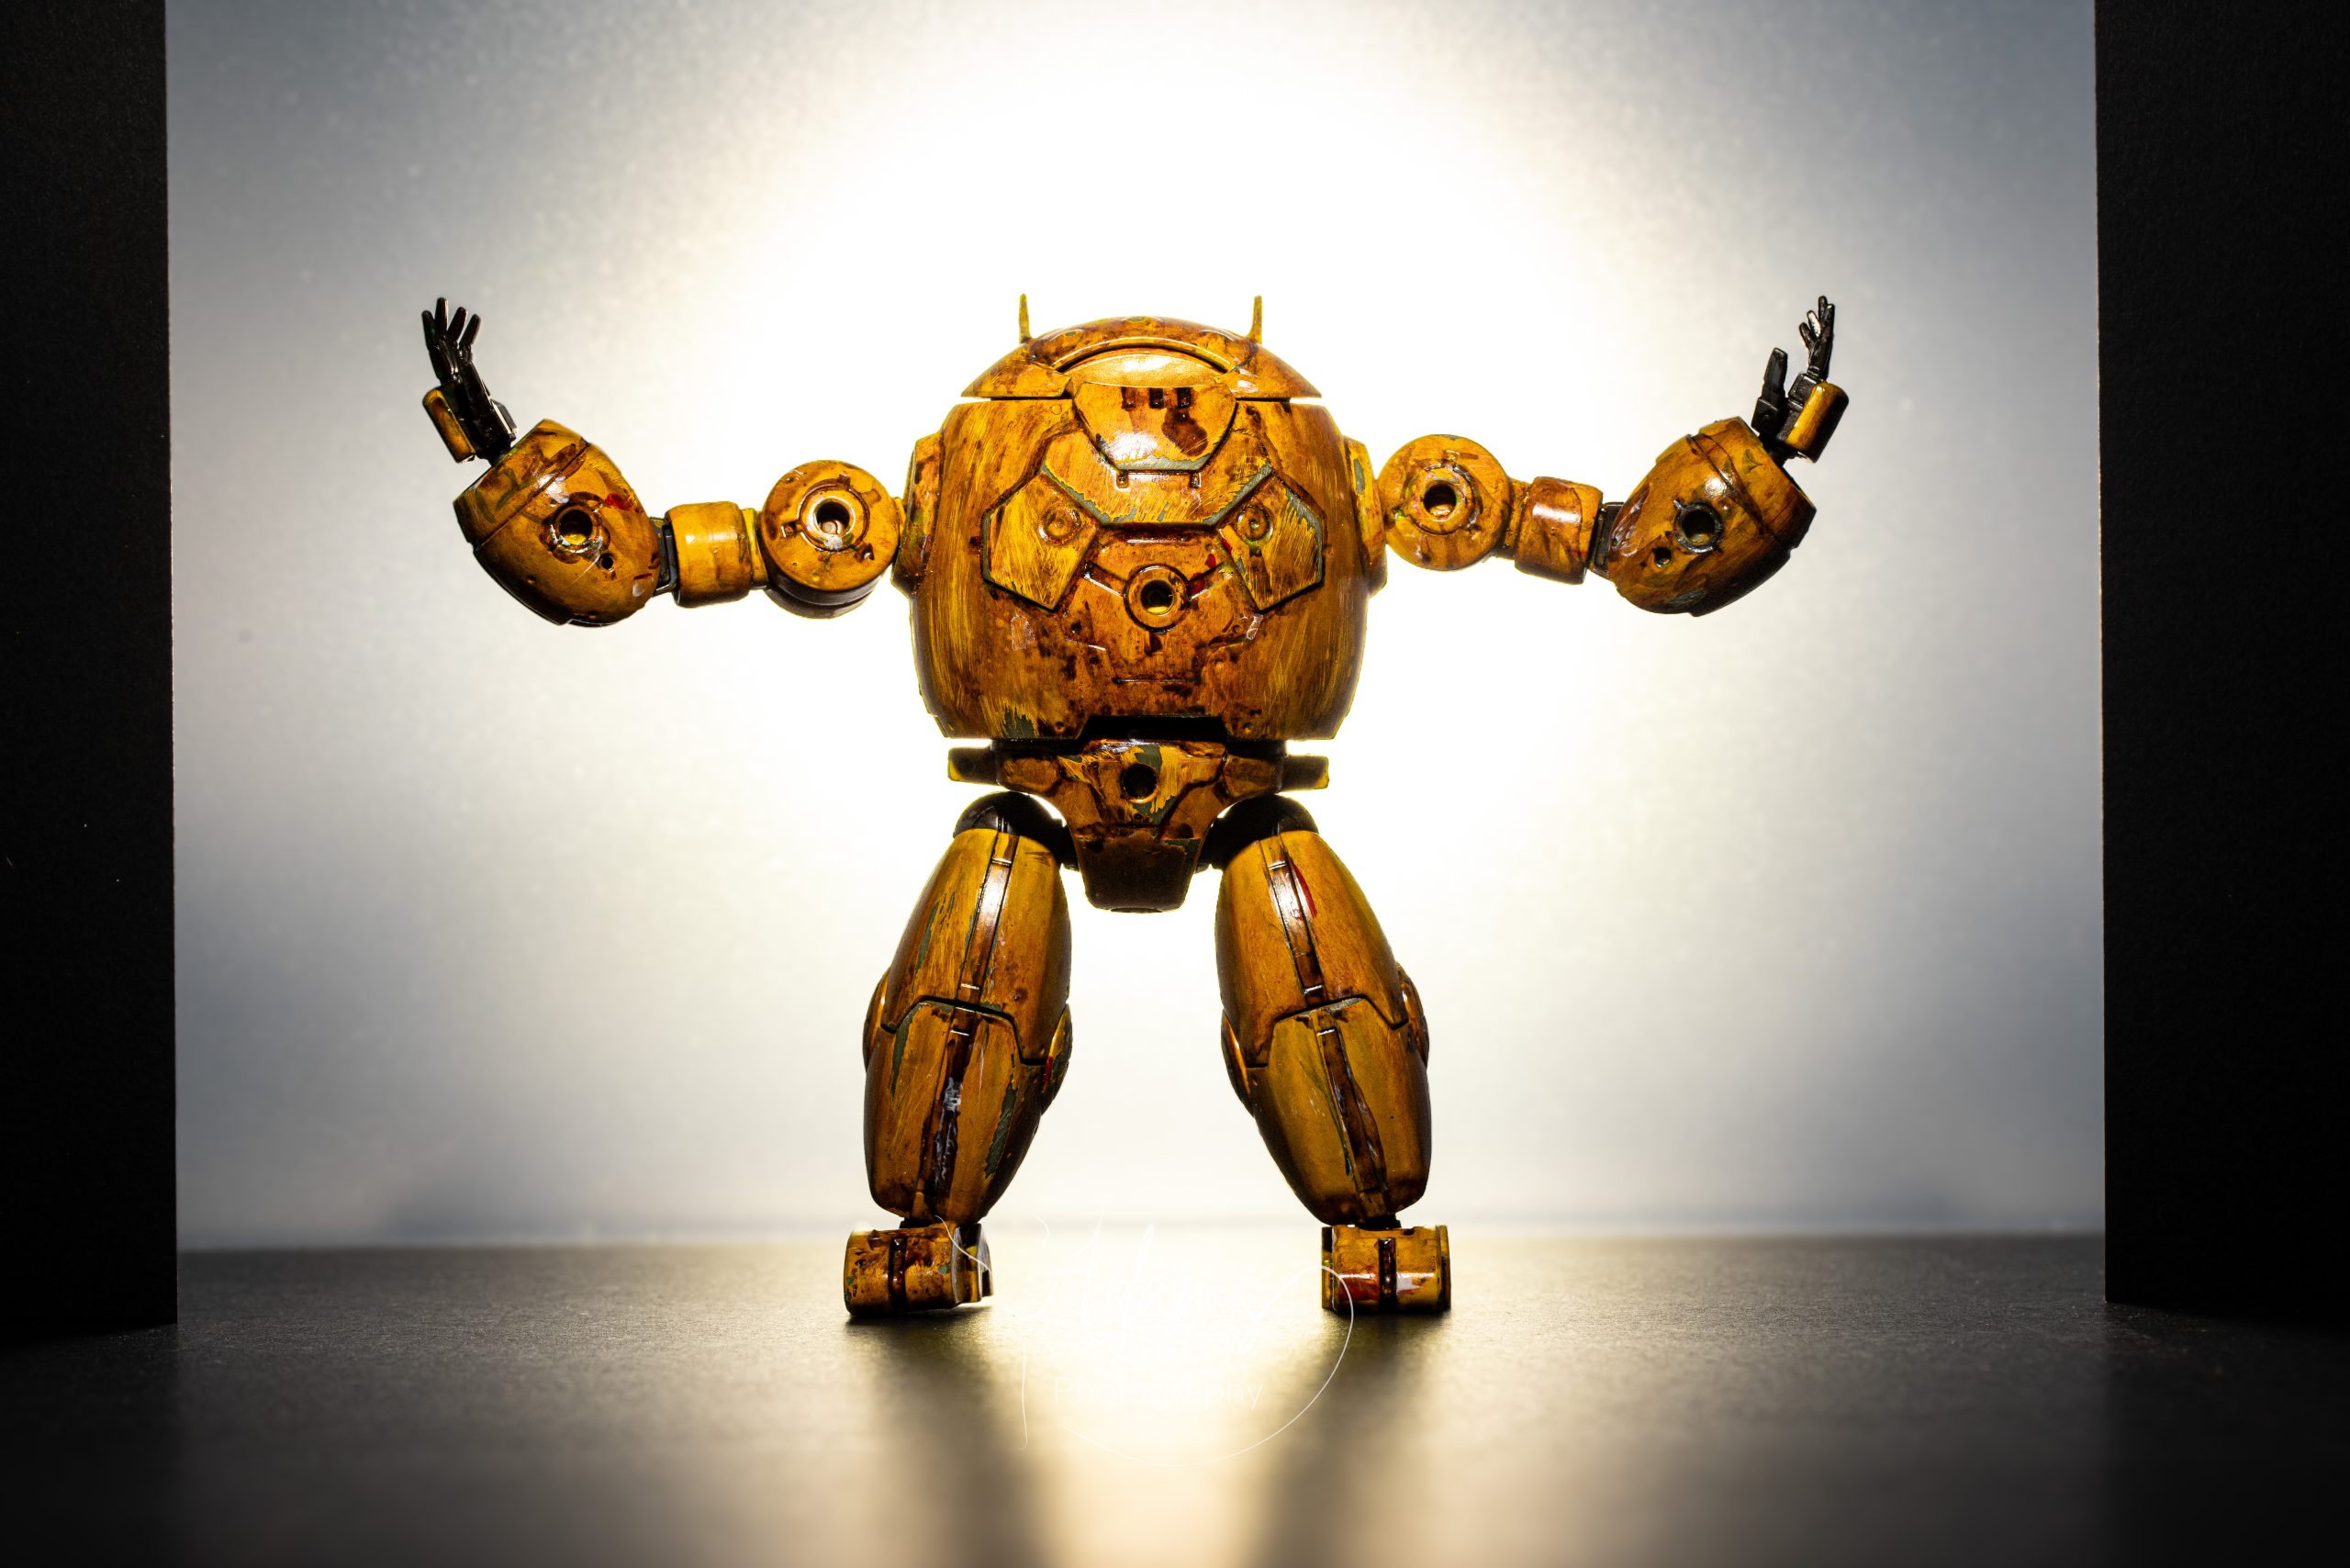
Then came paint. Weathering. Scratches. Character.
Suddenly he wasn’t just a model. He was someone.
Stage Two: Concept Building With Copilot
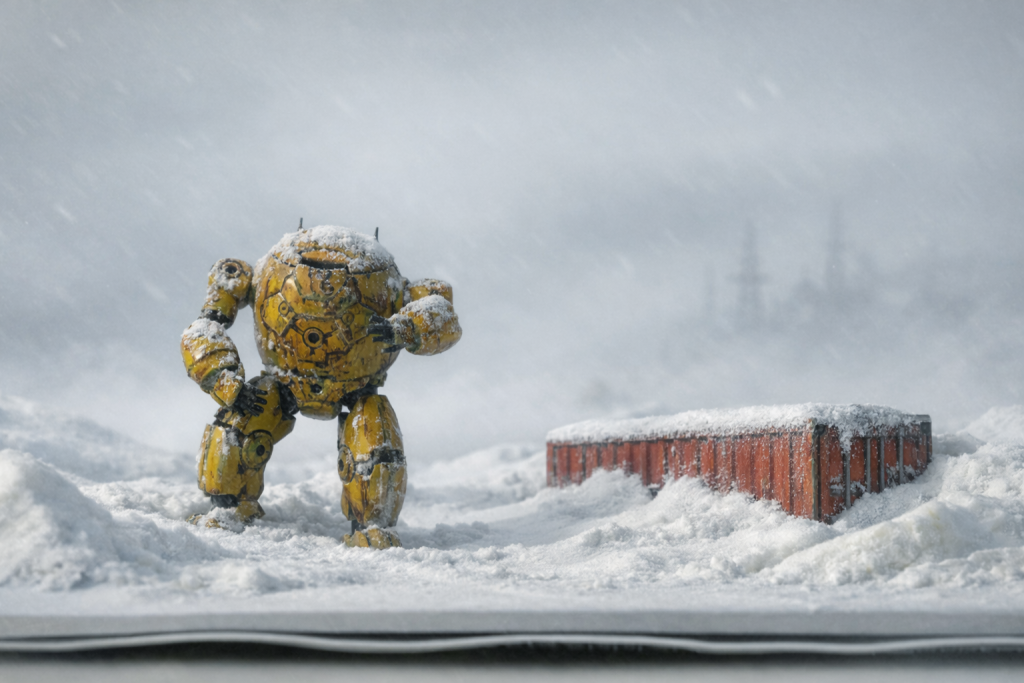
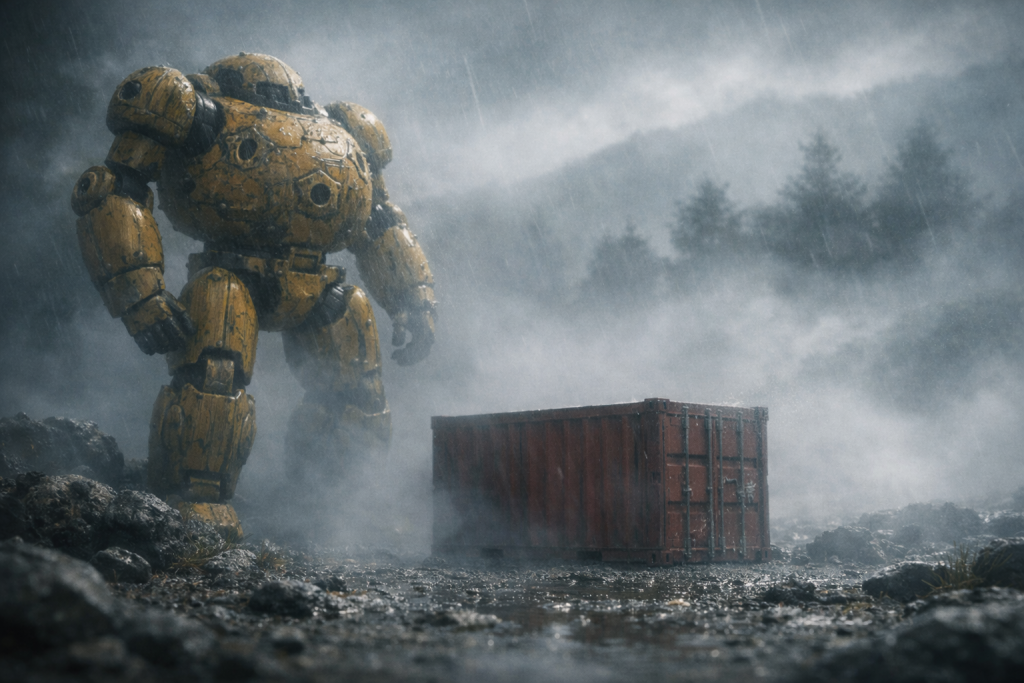
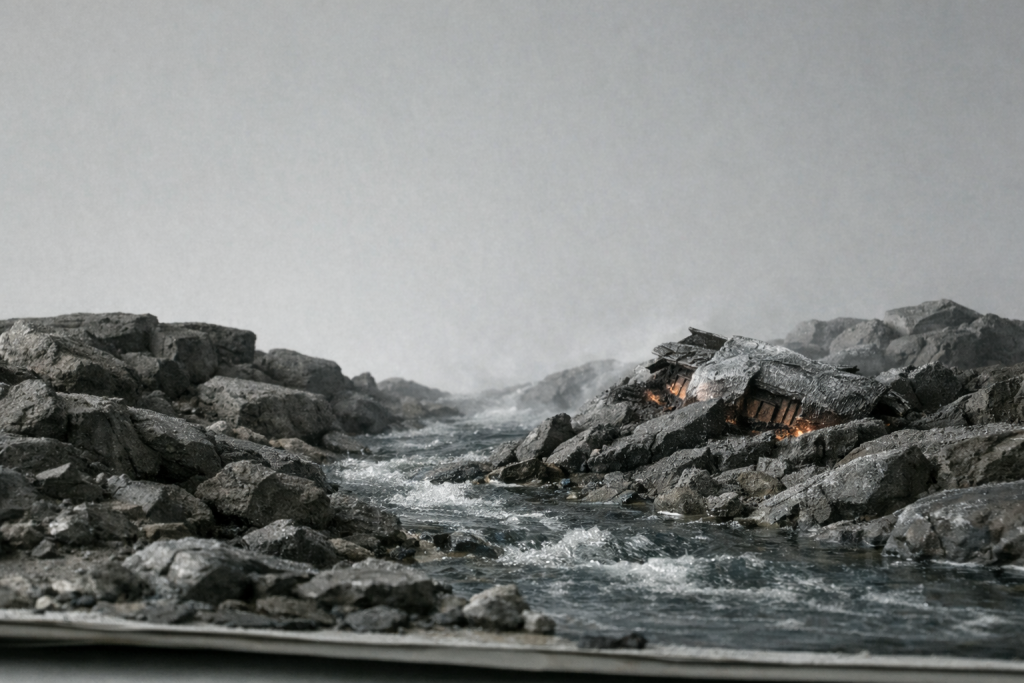
Once the mech existed physically, I used Copilot to generate concept images exploring the Yin/Yang idea.

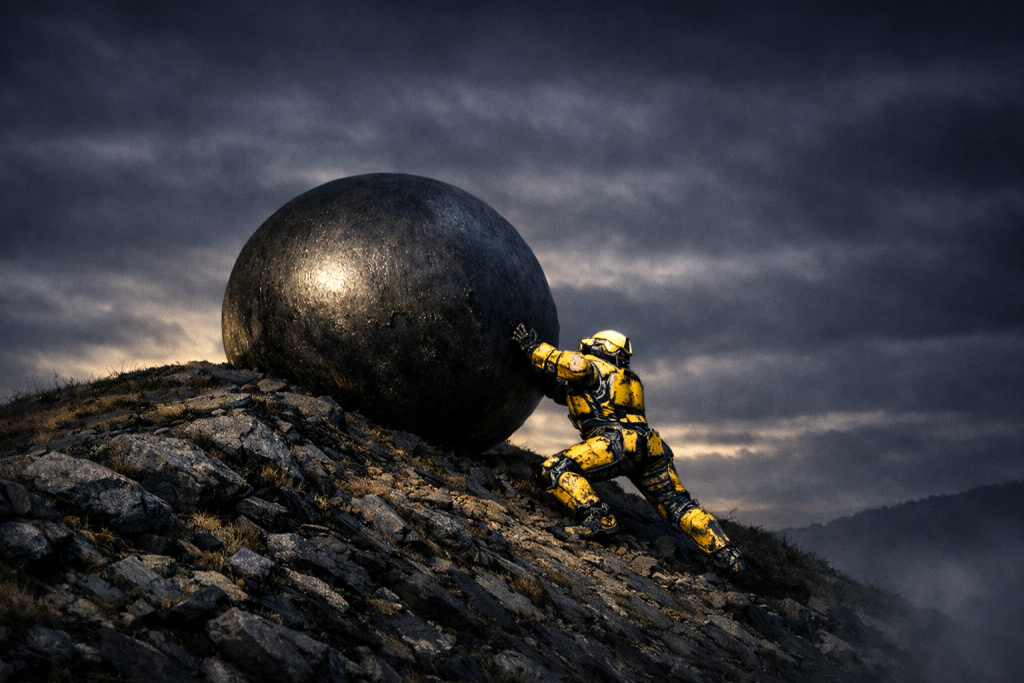

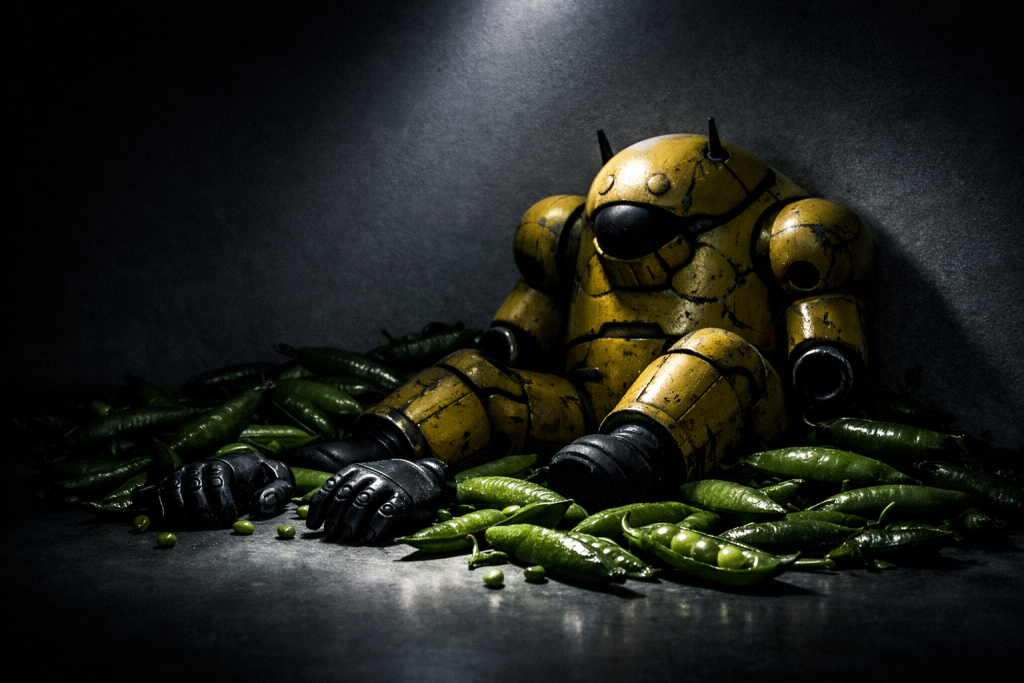
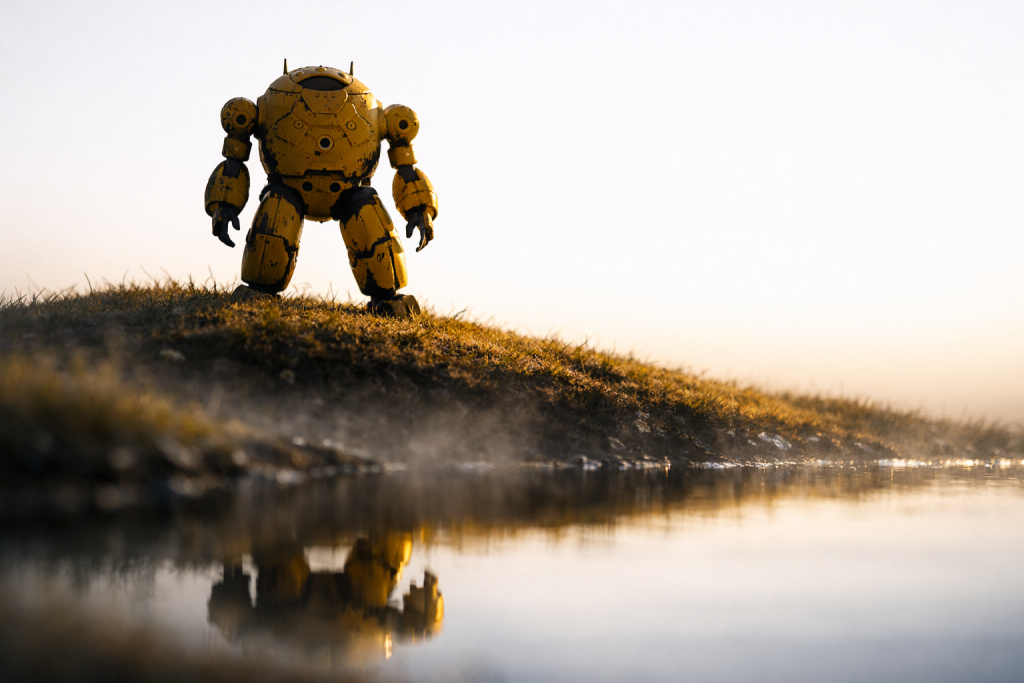
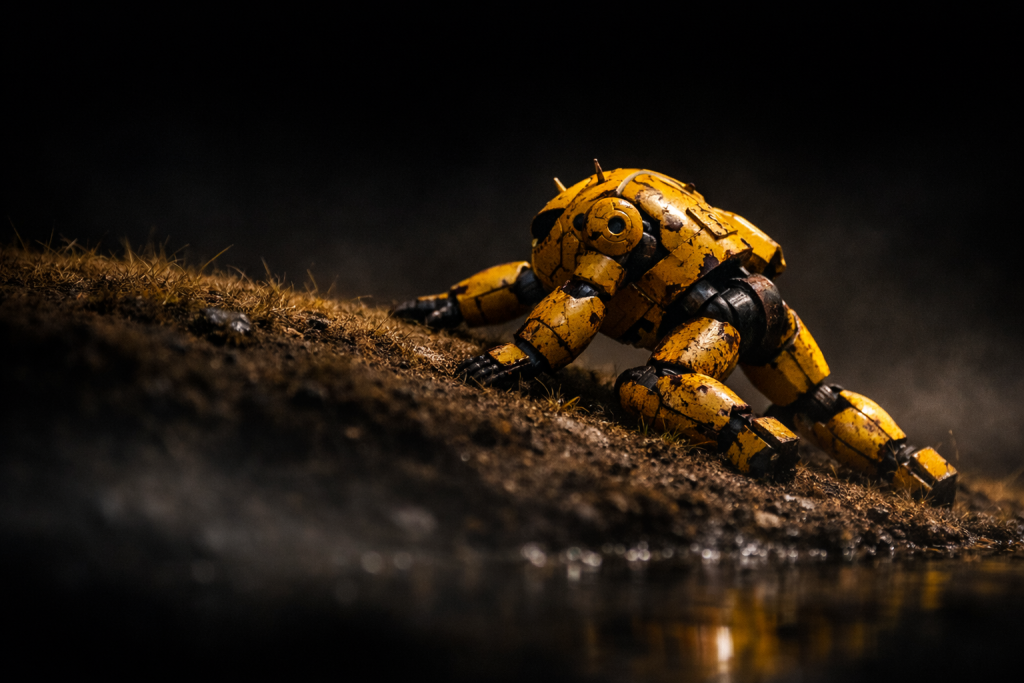
These weren’t final artworks — they were concept sketches. Visual brainstorming. A way to test ideas, moods, poses, and lighting styles before committing to a full scene setup.
Stage Three: Handmade Scenery Begins
With the mech and concepts in place, it was time to build the world.
Your PDF puts it perfectly:
“Then we made a few more concepts and progress, hand made scenery begins.”
Foam. Sand. Paint. Glue. Whatever I could find that didn’t cost anything.
This is where the project shifted from “fun idea” to “okay, this is becoming a thing.”
Stage Four: Early Lighting Tests & Hero Shots
Before building full scenes, I wanted to understand how the mech behaves under light.
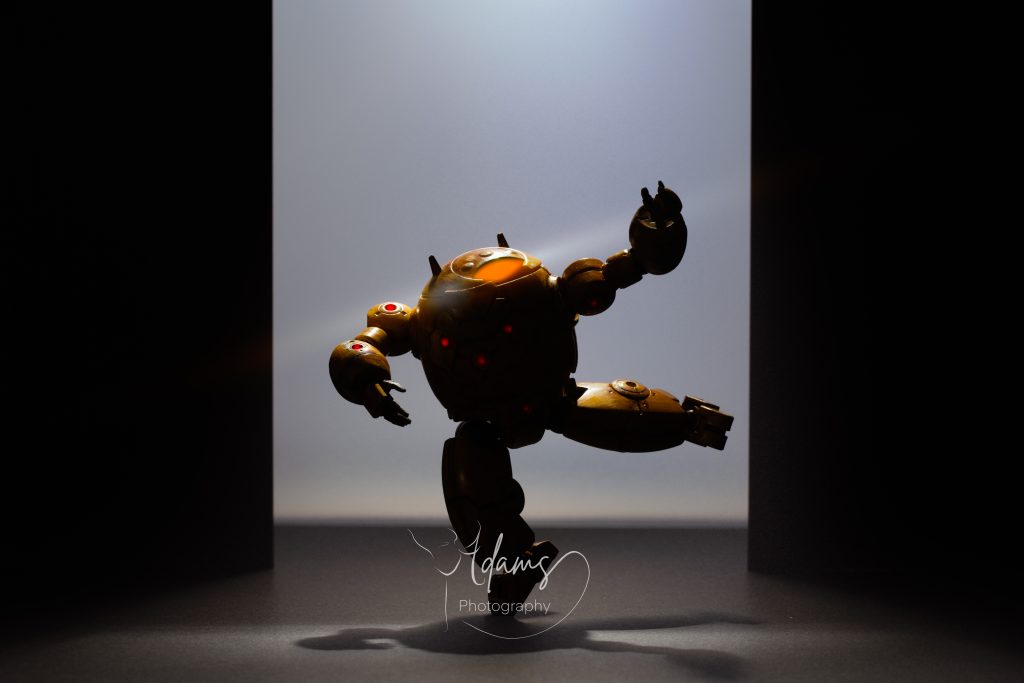
So I set up some hero shots — dramatic, moody, theatrical lighting to see what kind of personality he had.
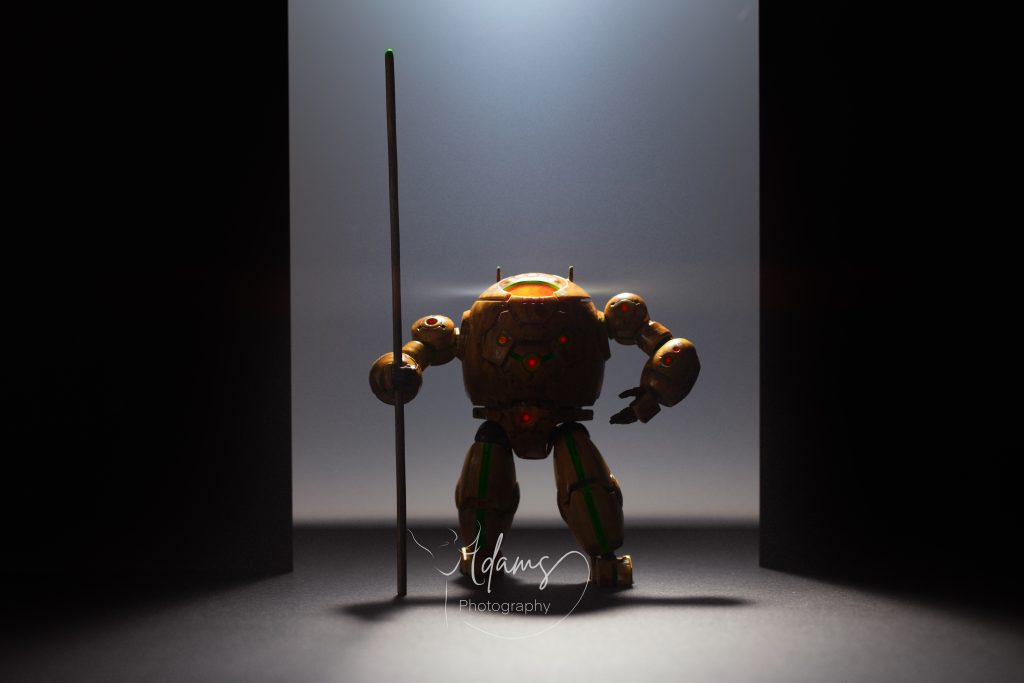
These are the only real finished photos so far
They’re the heart of the project.
⭐ Stage Five: The Journey Ahead
The rest of the images — the snow, the storms, the puddles, the hills — are conceptual AI explorations. They’re not final. They’re not locked in. They’re sketches of what the mech’s world could become.
The real series is still ahead.
Also — the mech needs a name.
And yes — the adventure is just beginning.
Want to Help Name Him?
Here are a few playful options:
- Pivot (because he literally pivots for poses)
- Moss (small, resilient, grows anywhere)
- Rook (like the chess piece — sturdy, dependable)
- Patch (weathered, repaired, loved)
- Sol (light/dark theme, sun energy)
Comments are closed